Getting Started with GitHub Copilot CLI in the Terminal
Andrea Griffiths guides developers through using GitHub Copilot CLI, explaining how to install, authenticate, and bring powerful AI assistance to the command-line workflow.
Getting Started with GitHub Copilot CLI in the Terminal
By Andrea Griffiths
GitHub Copilot CLI brings AI-powered assistance directly to your terminal environment—removing the need to switch from the command line to browser or editor for coding help. This guide explains how to install, authenticate, and leverage Copilot CLI in common developer workflows.
Installation and Authentication
- Requirements:
- Node v22+
- npm version 10 or later
- Existing GitHub Copilot (Pro, Pro+, Business, or Enterprise plan)
Install GitHub Copilot CLI globally and log in with your GitHub account:
npm install -g @github/copilot-cli
copilot

# Then follow the prompt to authenticate
Workflow in the Terminal
1. Clone and Launch Copilot CLI
Clone any repository and start Copilot CLI:
gh repo clone github/spec-kit
cd spec-kit
copilot
Type / for available commands or Ctrl+R to see Copilot’s command log.
2. Onboarding and Understanding Codebases
Instead of manually reviewing the README and file tree, ask Copilot:
Example: Explain the layout of this project.
Copilot inspects files, directories, and the README, and provides a Markdown summary.
3. Checking Environment Readiness
Skip manual dependency checks. Say:
Example: Make sure my environment is ready to build this project.
Copilot verifies dependencies, installs missing tools, and confirms local build readiness.
4. Surfacing Good First Issues
Let Copilot recommend issues to work on:
Example: Find good first issues in this repository and rank them by difficulty.
Copilot queries GitHub Issues via its integrated MCP server and presents prioritized tasks.
5. Starting Implementation
Automate setup and development tasks:
Example: Start implementing issue #1234. Show me the diff before applying.
Copilot drafts implementation plans, edits files, and shows diffs for your approval.
Pro Tip: Use @-mention files to focus Copilot on specific code sections.
6. Committing and Opening a Draft Pull Request
Streamline code review with:
Example: Stage changes, write a commit referencing #1234, and open a draft PR.
Copilot stages changes, writes a commit, and opens a draft pull request.
7. Solving System Problems
Address common developer headaches such as port conflicts:
Example: What process is using port 8080? Kill it and verify the port is free.
Copilot runs system commands to diagnose and resolve issues.
Control and Permissions
Copilot CLI always prompts before running commands or accessing directories, allowing you to control command execution. Options include:
- Allow once
- Allow always for a command
- Deny
- View session permissions with
/session - Reset with
/reset - Add allowed directories with
/add-directory
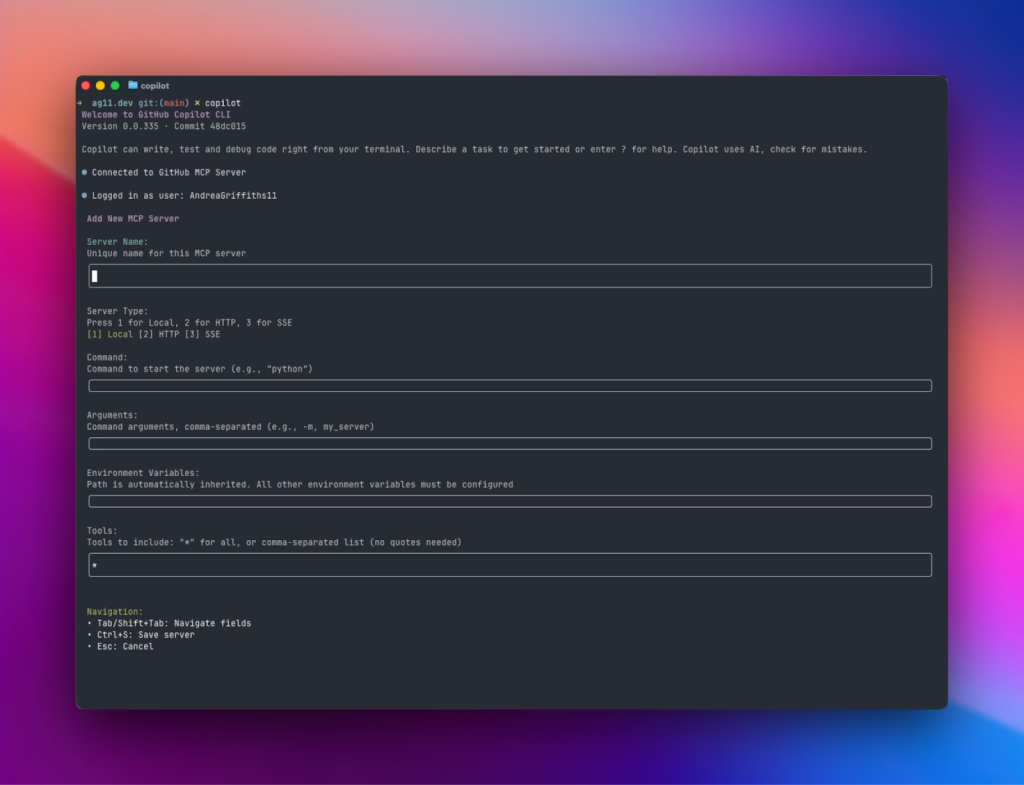
Extending Copilot CLI with MCP Servers
Copilot CLI includes the GitHub MCP server for issue search and repo interaction. Add other MCP servers for custom workflows using /mcp.
Example scenarios:
- Integrate Playwright for browser tests
- Connect to company-internal tools
Why Copilot CLI Matters
With Copilot CLI, developers stay in their workflow—navigating repositories, running builds, and collaborating on code—while AI assistance is readily available. This reduces context switching, simplifies onboarding, and allows you to focus on code.
Try It Today
npm install -g copilot
Use /feedback to share your experiences and help shape Copilot CLI’s roadmap.
Start using GitHub Copilot CLI and accelerate your developer workflow.
This post appeared first on “The GitHub Blog”. Read the entire article here